Ripping chains are a very useful accessory for chainsaw milling. As with many other things, there are two ways of getting yourself a ripping chain: buy or DIY.
This article is about the DIY route: I will tell you how to turn a regular chainsaw chain into a ripping chain. In short, a regular chainsaw chain can be converted into a basic ripping chain simply by re-grinding the teeth to a lower 5…10 degree angle and resetting the depth gauges. Ripping efficiency of the chain can further improved by turning every second cutter pair into scoring cutters.
Next, we will first look at how to produce what I call a basic ripping chain by making the sharpening angle change. Then, I will tell how to make an improved ripping chain which includes scoring cutters.
Equipped with this information and common chain-sharpening tools, you will be able to turn your cross-cutting chain into a ripping chain in less than 30 minutes.
Basic ripping chain
The most important modification needed to turn a regular chain into a ripping chain is changing the sharpening angle of the cutters (teeth).
While regular chains optimized for cross-cuts have a sharpening angle of 25 to 35 degrees, a much lower angle between 5 to 10 degrees is optimal for ripping.
What you need:
- Regular (cross-cutting) chain. The chain does not have to be new or of any specific type, but must fit your saw and bar.
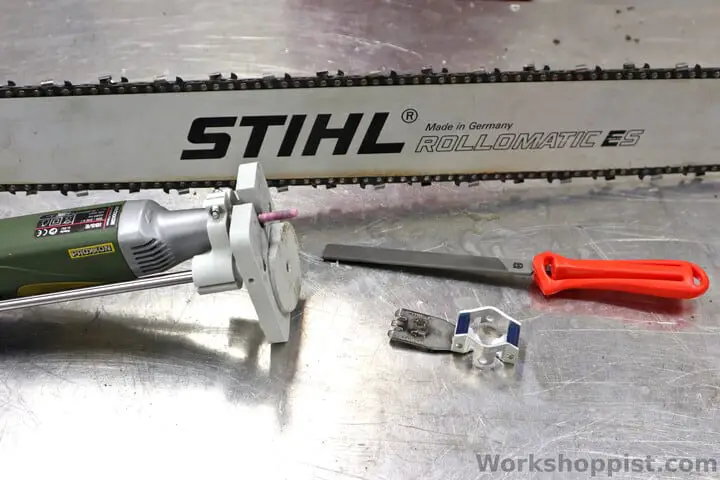
- Powered chain sharpener – any type with an adjustable angle is OK. (Regrinding is way too slow manually.)
- Grinding compound (optional)
- Flat file
- Raker filing guide
Step 1: Re-grind cutters
Sharpen all the cutters (teeth) on the chain to a 10 degree cutting angle. To do this:
- Set the sharpener to a 10 degree angle
- Follow device-specific sharpening procedure
- Aim for a fast grinding process and use a grinding compound
- Remember PPE: glasses, gloves, and earmuffs
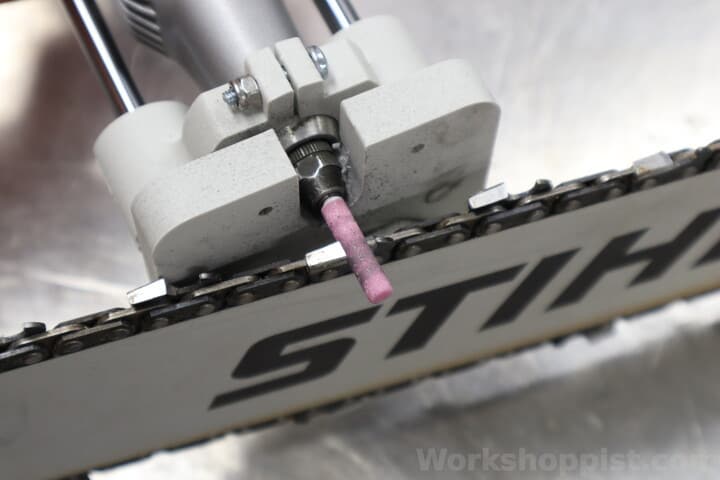
Note that you are going to remove a lot of material from each tooth – try to still keep the grinding time short to avoid heating the teeth more than necessary. If possible, use a grinding compound like Koolgrind.
Regrinding the cutters takes some time and patience, but 15 minutes should be enough even for a first-timer.
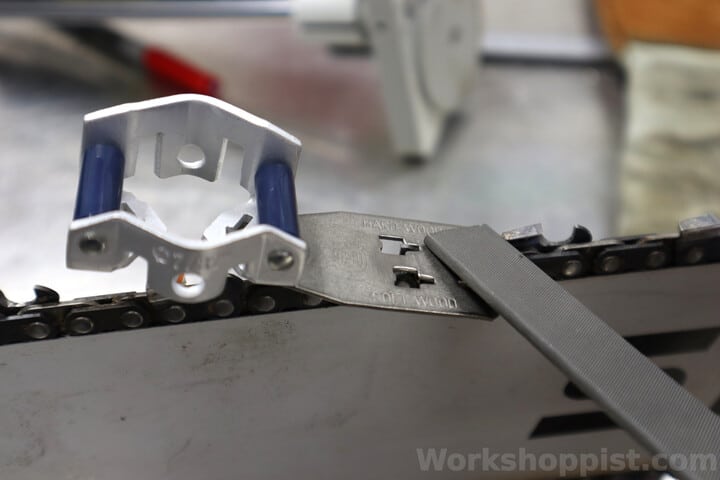
Step 2: Reset rakers
Next, reset the depth gauges or rakers in front of each cutter. This is best done manually using a flat file and a filing guide.
The proper depth gauge setting is .025″ to .030″, which is built into the filing guides. The depth gauge adjustment process is essentially the same as after each normal chain sharpening:
- Pick a filing guide intended for your chain pitch
- Position the guide on a raker according to instructions (depends on guide type)
- File the raker tip flush to the guide
- Repeat for each raker in the chain
- For horizontal guides: dress the leading edge the the rakers parallel to the service mark
(The pictured Husqvarna filing guide has the proper tilt integrated.)
Resetting the rakers ensures that the cutters can take a decent bite even after you have reground them (which lowers them a bit).
Filing the rakers with a proper guide is pretty fast and should not take more than 5 minutes.
Why the lower sharpening angle?
The lower top-plate angle of around 10 degrees reduces the side force on the cutter that tries to splay the chain.
Substantial side force is needed in cross-cutting to push the cutter side plates and shoulders into the wood fiber – hence the 30 or 35 degree sharpening angle.
But in ripping, the top plates of the cutters are doing the heavy fiber-cutting work, so much less side force is needed. Side force is in fact counter-productive in ripping as it causes the cutters to splay too much, leading to a ripply surface finish and unnecessarily wide kerf.
Improved ripping chain
With a bit more time and effort, you can still improve the basic ripping chain by turning every second cutter pair into scoring cutters. Scoring cutters are particularly useful with very wide cuts or low-powered saws.
Scoring cutters are essentially standard cutters with a half-width top plate. They are made from regular cutters by grinding some material off the top plate.
What you need:
- The basic ripping chain from the last step – this serves as the starting point.
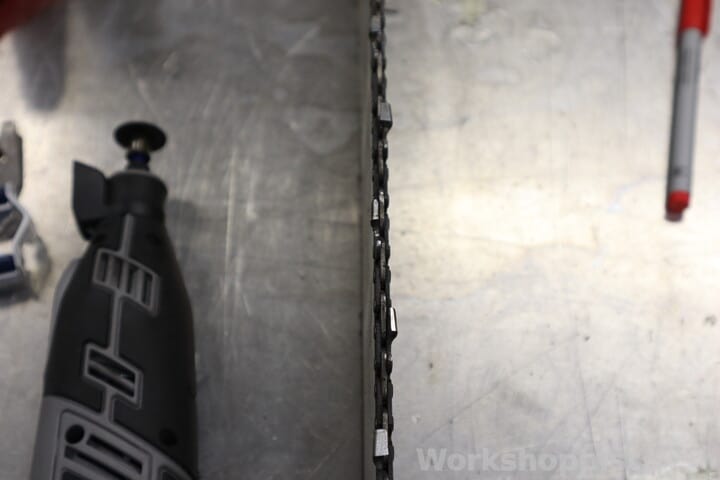
- Angle grinder or a rotary multitool (Dremel) with a cutoff disc.
- (Grinding compound)
- (Marker pen)
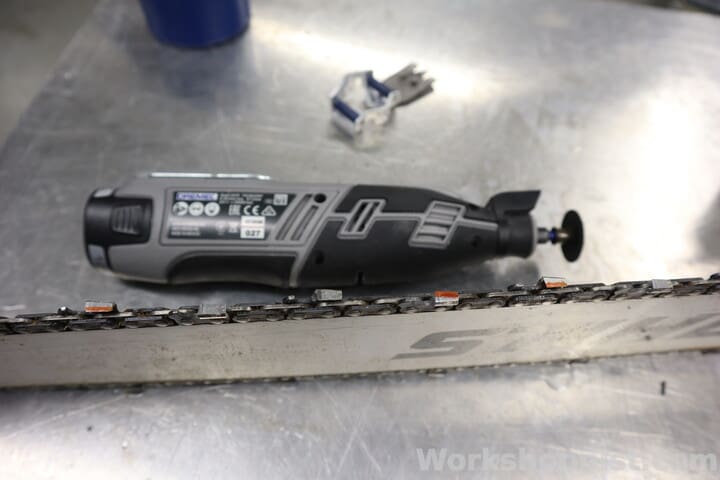
The grinding is best done with an angle grinder with a thin cutoff wheel. A Dremel or similar rotary multitool with a tough cutoff disc can also be used for the purpose.
With enough care, the grinding can be done handheld. When possible, however, mount the angle grinder or Dremel on a tool stand or attach a simple jig to make the process easier and more repeatable.
Steps:
- Keep the chain on the bar
- Mark the cutoff lines midway through the top plates of every second tooth pair (see image)
- Cut each of the marked top plates. Try to make each cut fast to avoid unnecessary heating.
- Remember PPE: glasses, gloves, and muffs. Consider a full-face mask for this sparking but detailed work.
Cutting the scoring teeth is quite fast and takes less than 10 minutes.
Why is this done?
Scoring cutters help the chain run lighter and stabler and give your saw an easier time in ripping cuts. Having scoring cutters as every second cutter pair allows each cutter to take only 1/4 of the full kerf width.
Tools
Some tools I like to use in making ripping chains are listed in the table below. The table includes links to Amazon (Workshoppist.com is an Amazon Associate. As an Amazon Associate we earn from qualifying purchases.) Some notes:
- A bench grinder is the fastest and most accurate tool for regrinding if you want to invest a bit.
- The cordless Dremel is handy as it both regrinds and cuts teeth (even in the forest); the Dremel guide is a necessary accessory though not the best for ripping chains. (I am working on adapting my more accurate Proxxon jig for Dremel and maybe publishing something on that.)
- Select the grinding stones and raker filing guides on your chain size (most saws OK for milling run a 3/8″ chain).
- Dremel EZ cutoff discs are handiest for trimming the teeth into scoring cutters, but any will work. Prefer Dremel to the angle grinder, though – you need the accuracy.
| RIPPING CHAIN TOOLS | |
|---|---|
| Powered grinders: Oregon Pro Compact (benchtop) Dremel 8220 (cordless)* Proxxon IBS/E (corded) Dremel guide | |
| Grinding stones: Dremel 5/32″ Oregon 5/32″ (3/8P) Dremel 3/16″ Oregon 3/16″ (.325″) Dremel 7/32″ Oregon 7/32″ (3/8″) | |
| Flat file & raker guide: Husqvarna 3/8″P .325″ 3/8″ Cutoff wheels: Dremel EZ 1½” (incl. mandrel) | |
| *(links to Amazon) |